Crochet Romantic Bookmark Free Pattern
Crochet Romantic Bookmark Free Pattern
Hi everyone, today I am bringing to you a crochet romantic bookmark (free pattern). This crochet pattern is really pretty, and inspired by the Coquette aesthetic. I have been wanting to crochet a bookmark for a long time, and I am so pleased to bring you this project today.
The video tutorial can be found here:
Crochet Romantic Bookmark Free Pattern: A Coquette Inspired Project
The Coquette aesthetic is so feminine and girly. Needless to say I love this aesthetic, as I really enjoy feminine and delicate crochet. Bookmarks are also such useful items! I actually cannot believe I haven’t crocheted a bookmark yet, as I love both reading and crochet!
Now that I have created my first bookmark design, I will definitely make more, so watch this space. Recently, I have crocheted quite a few Coquette aesthetic projects. The Coquette aesthetic is very feminine and delicate, and is definitely one of my favorite aesthetic to date.
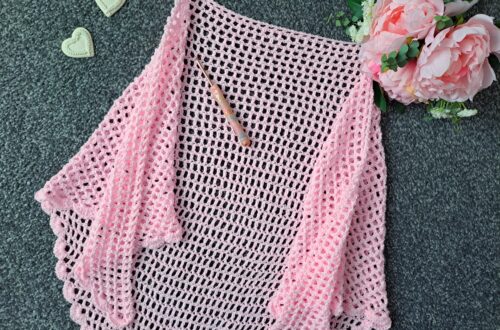
The Puff Flower Bag I crocheted a few weeks ago is inspired by this aesthetic too. It is also a very lovely and easy crochet project to make! The Brigitte Hairband is also a very feminine headband, perfect for all seasons. I made this a few weeks ago also.
Crochet Romantic Bookmark Free Pattern: The Yarn
For this project, I used one of my favorite yarns which is Drops Muskat. This yarn is 100% mercerized cotton and a light 3/DK weight. It is a very soft and silky yarn, perfect for many different projects.
This easy silky scrunchie is very elegant and feminine, perfect for beginners too. The dainty envelope bag I made a month ago features a dainty design, and 3 little ribbon flowers stitched over the flap. Both these crochet patterns are unique, perfect for the coming Spring and Summer.
The Lilly Cottagecore Inspired Bandana is also crocheted with this yarn. This bandana is inspired by the Cottagecore aesthetic, and is very pretty too. This project is one of my favorite to date, and looks beautiful in all seasons.
Connecting with you
I would like to take a moment to thank every single one of you, for supporting me and my crochet journey. Indeed, I absolutely am so touched by all your messages, comments, and every person who has become a patron of my work through Patreon. Thank you!
I love connecting with my Crochet Community through my blog and Social Media. You can find me on Youtube, Instagram, and Pinterest. I would love to connect with you on these platforms.
You can also join my private Facebook group to connect.
Subscribe to our twice weekly newsletter so that you never miss a stitch!
Crochet Romantic Bookmark: The Pattern
You can purchase the ad free, large print, PDF pattern from my Etsy store here: Crochet Romantic Bookmark PDF Pattern
You can purchase the ad free, large print, PDF pattern from my Ravelry store here: Crochet Romantic Bookmark PDF Pattern
Level: Easy
Notes
I will be writing in US terms (British terms in brackets)
You can find the video tutorial to this project here: https://www.youtube.com/watch?v=EvUoHdCtvEM
Gauge
Gauge is not crucial for completion of this project
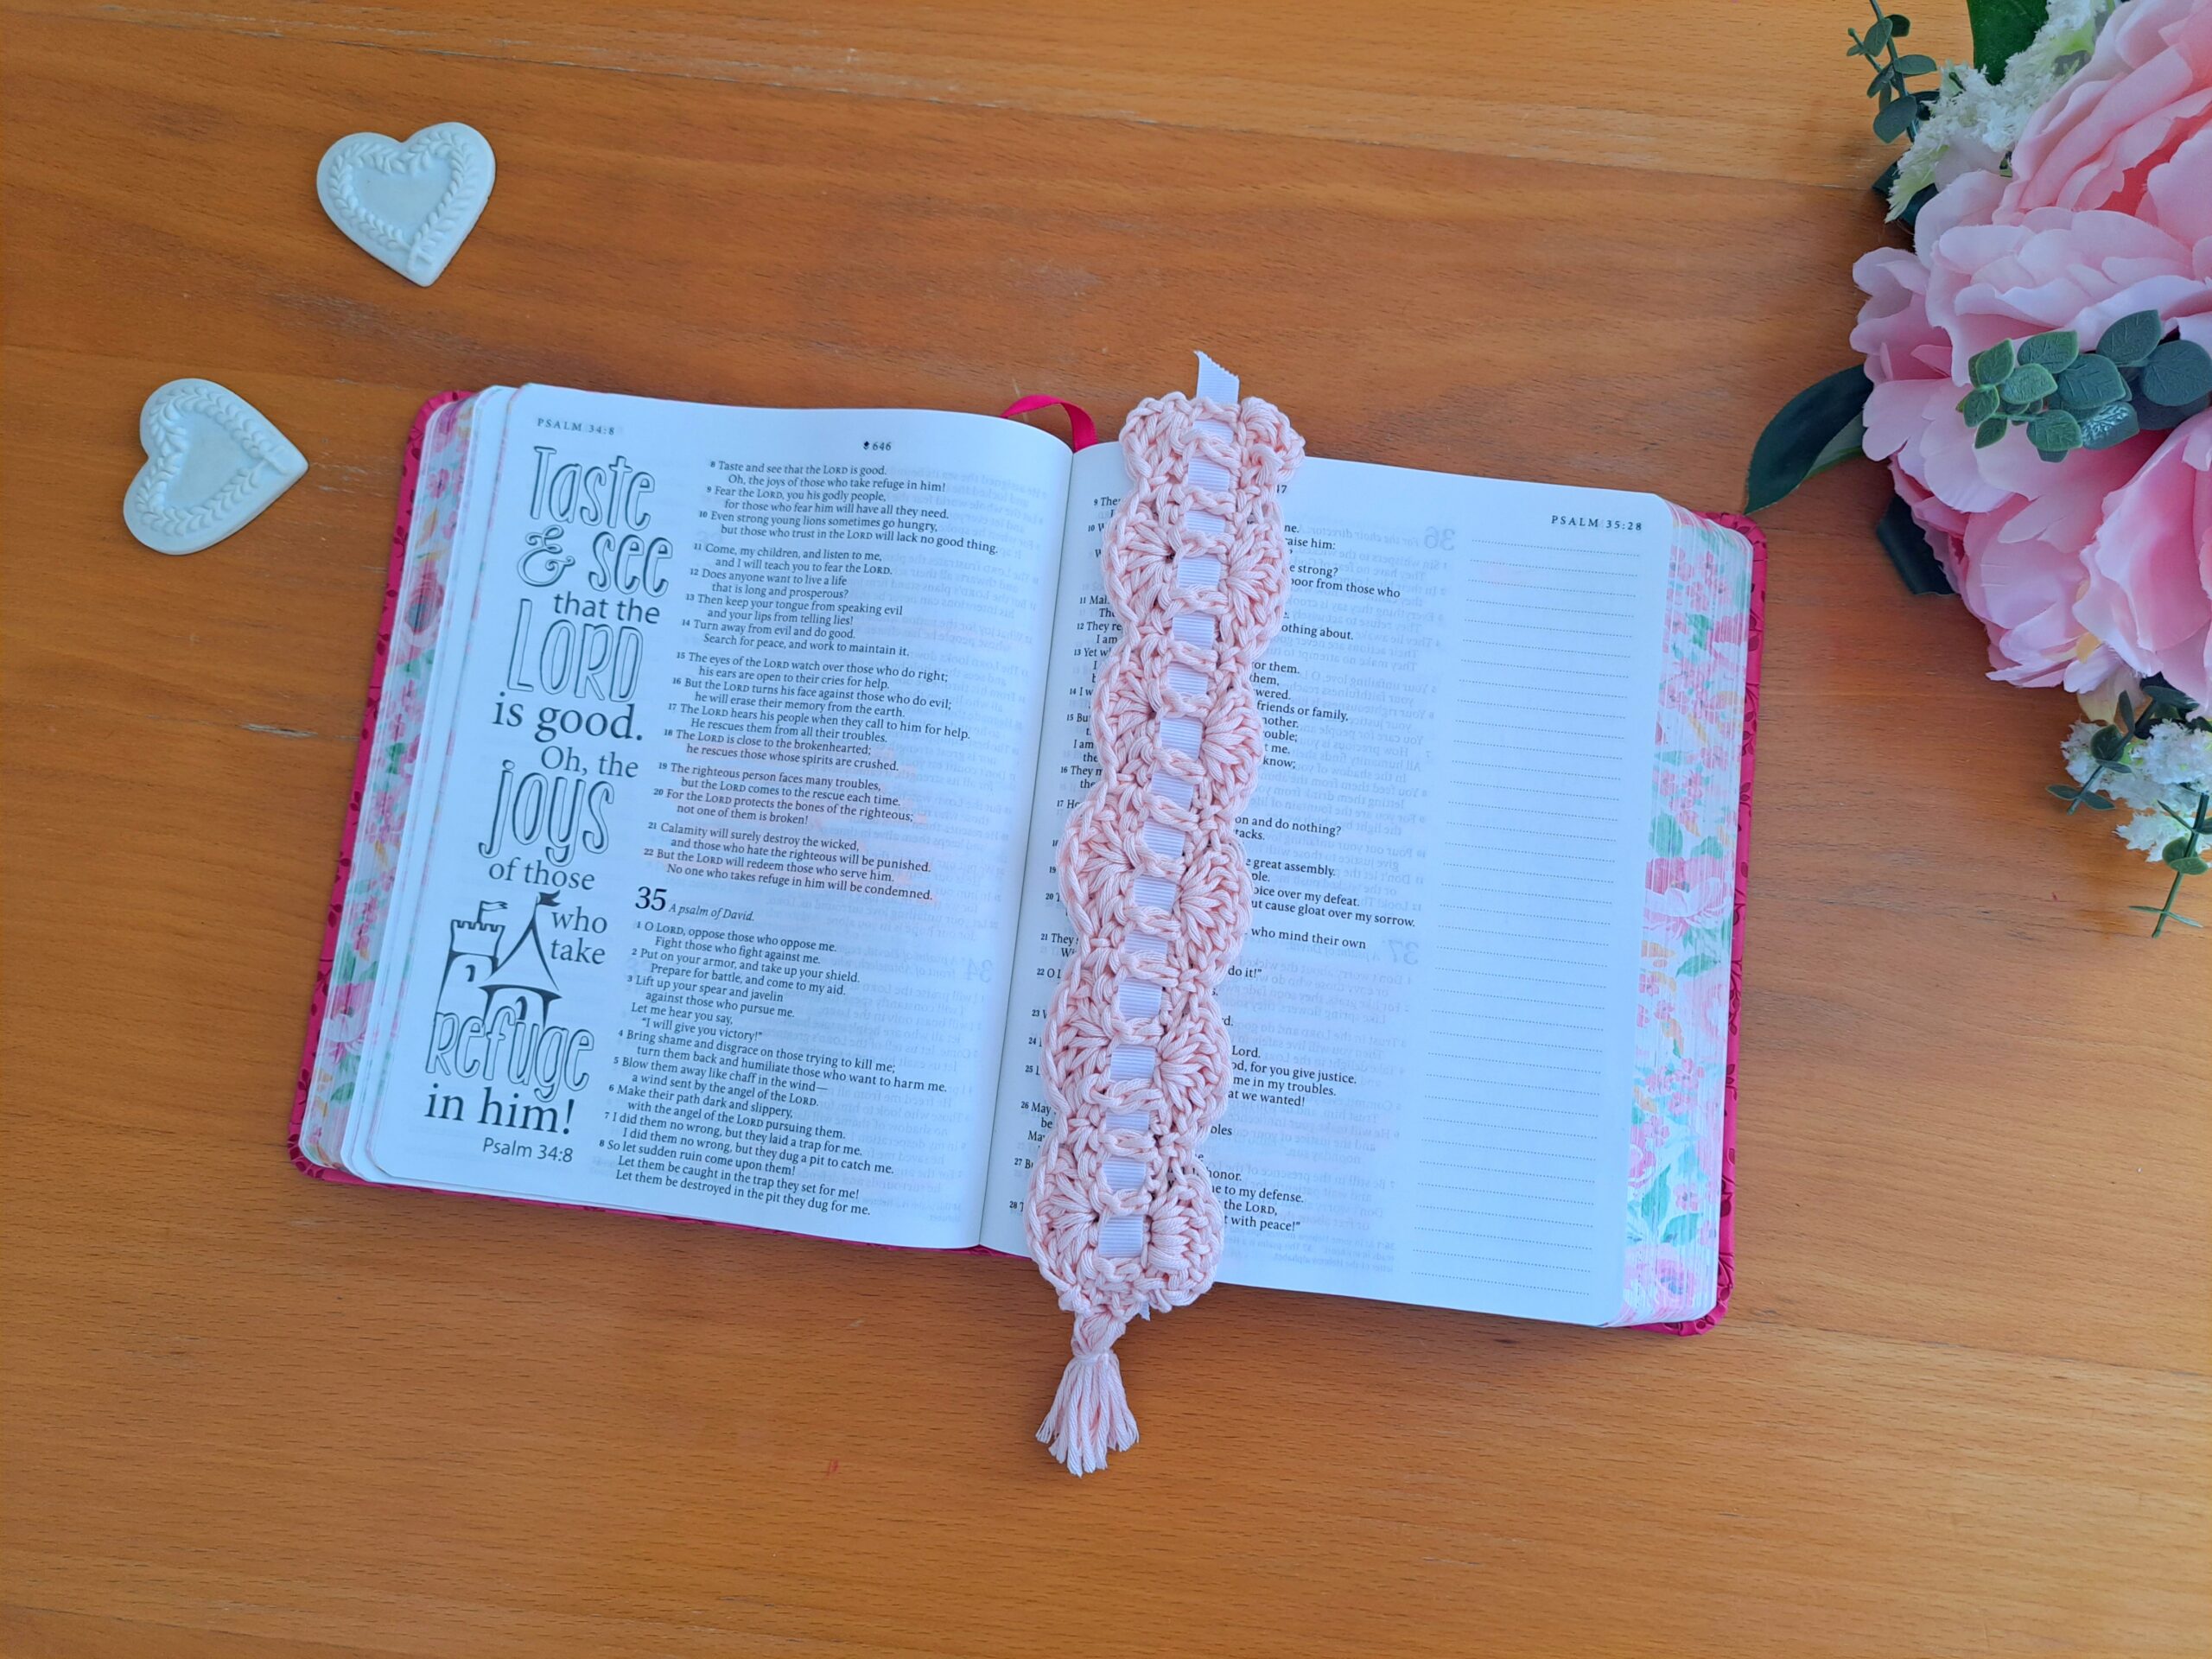
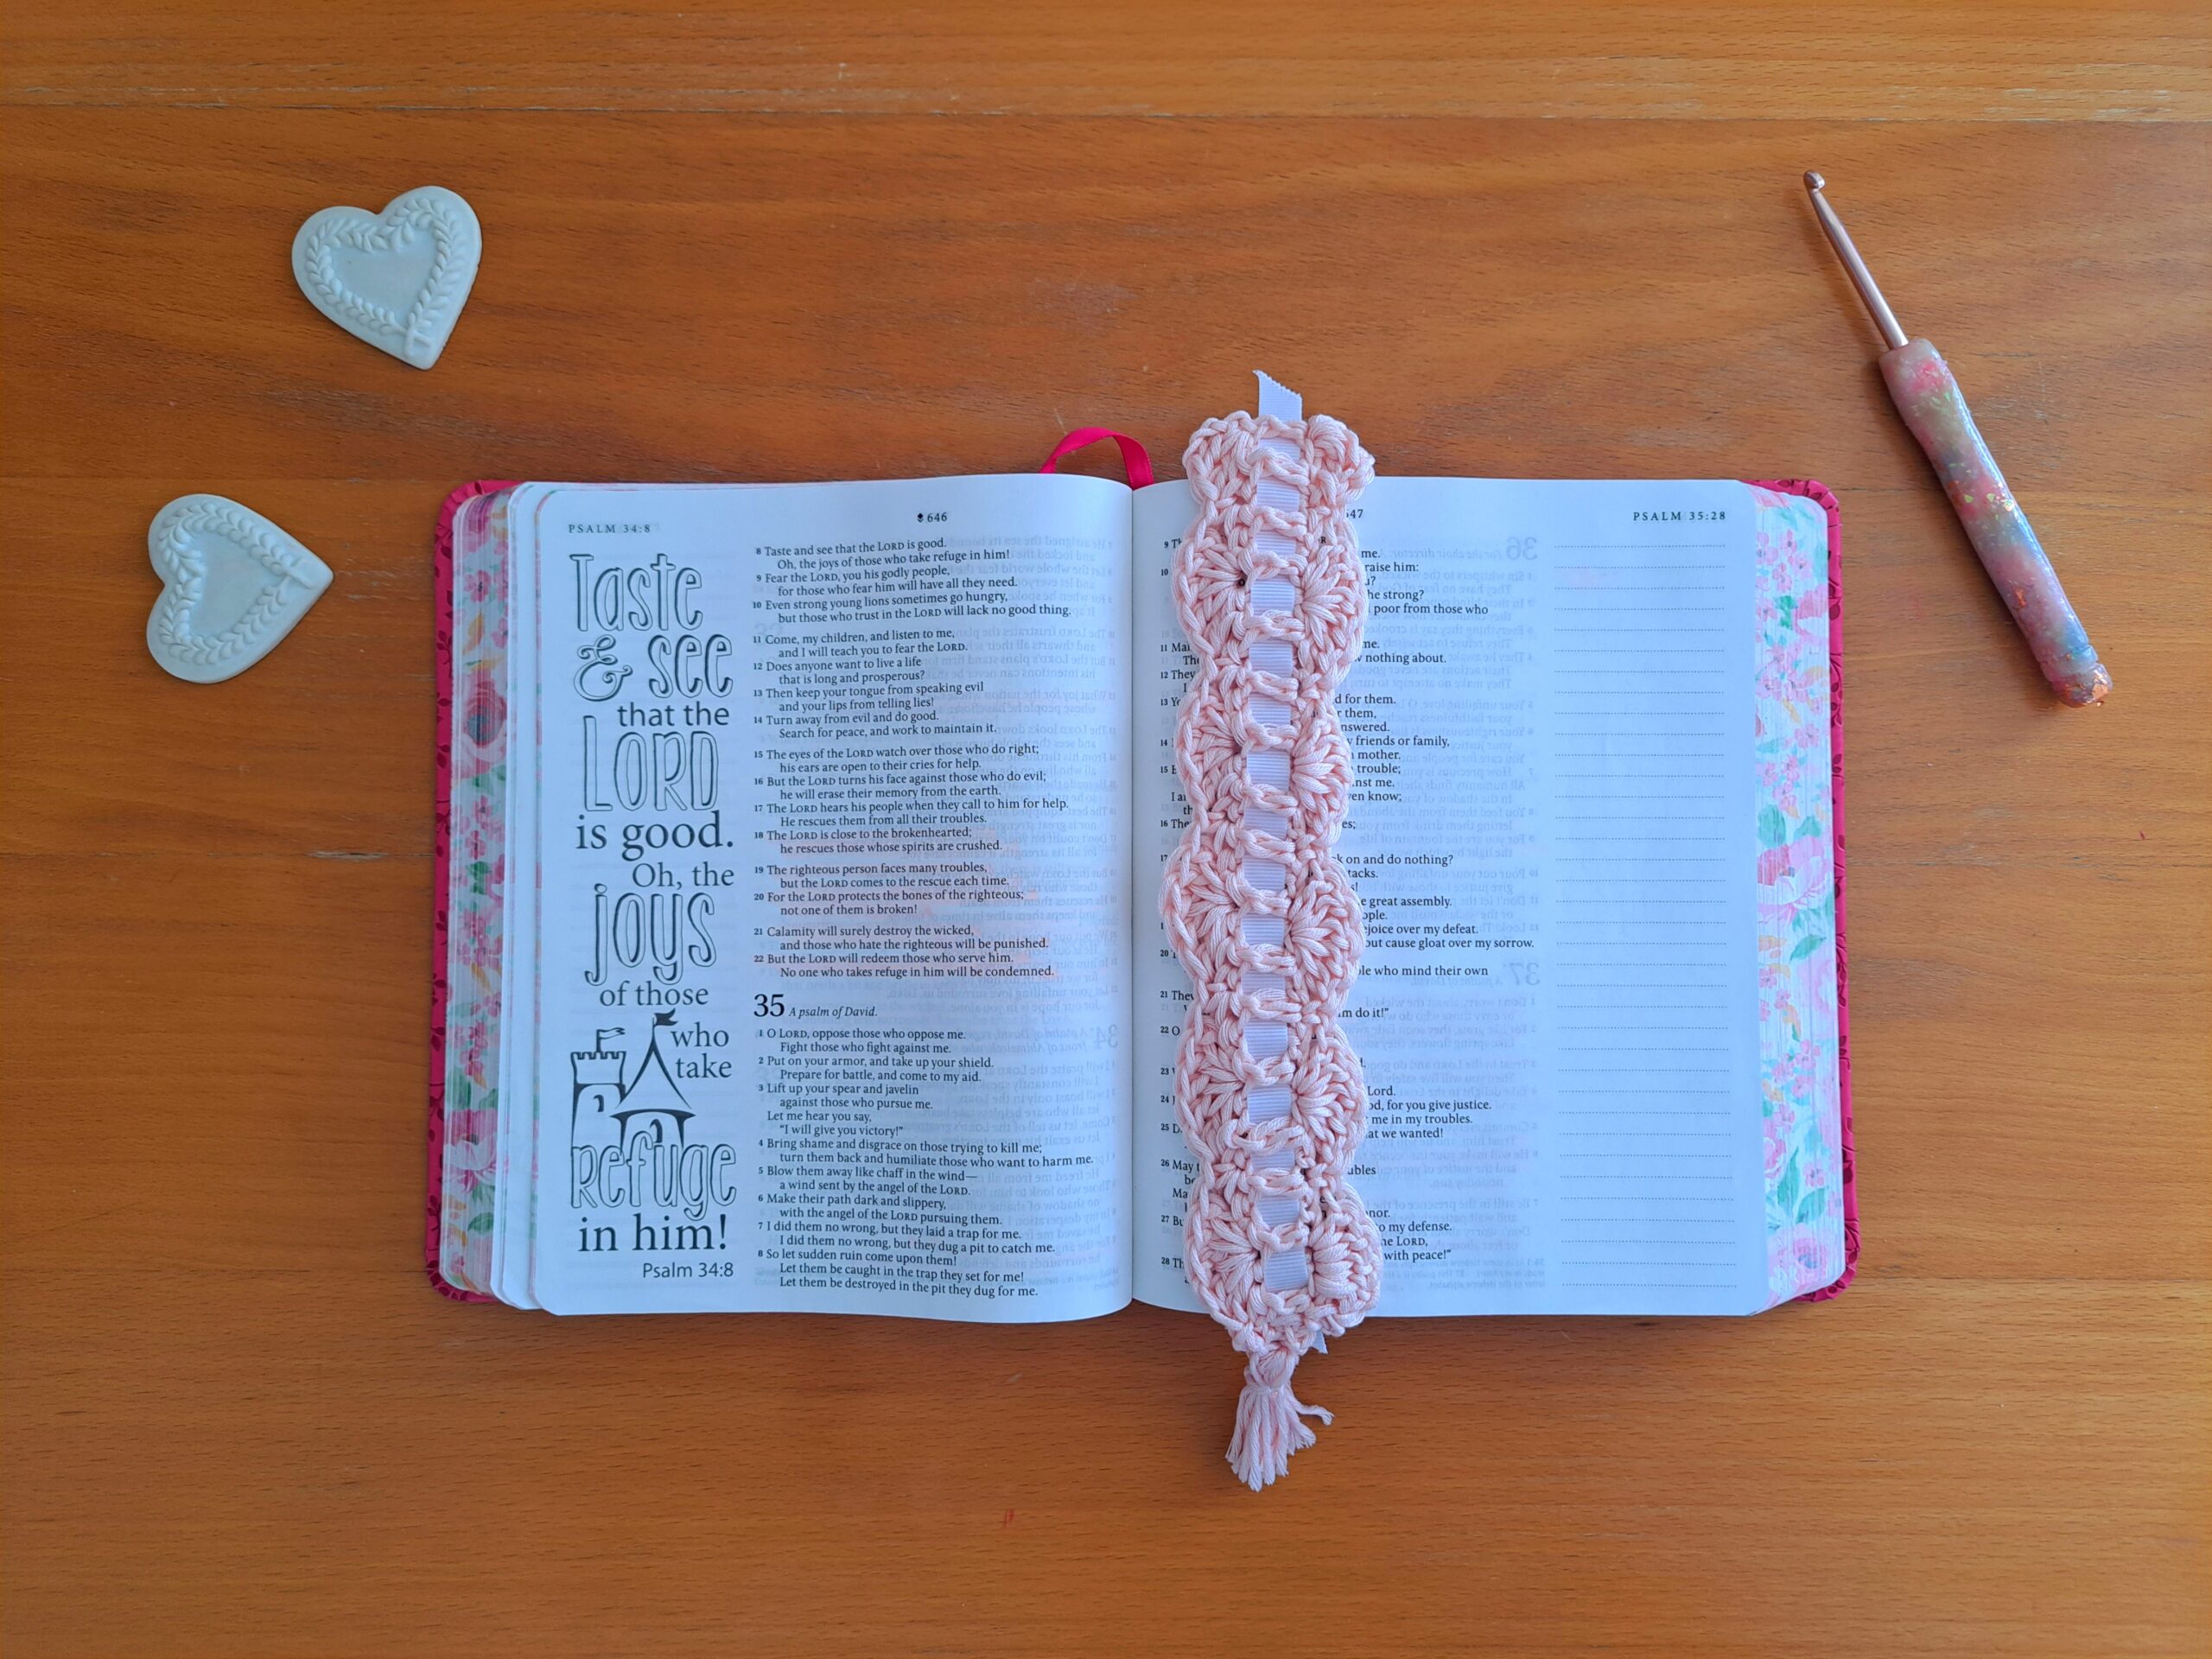
Size of finished project (excluding ribbon but including tassel)
2”x10,2” (5 cm x 26 cm)
Materials
1 skein of Drops Muskat yarn in shade 10 Light Peach
A 4 mm crochet hook
Tapestry needle
A pair of scissors
A simple 11 mm ribbon (about 10” long)
Safety pin
Abbreviations
Ch: chain
Sk: skip
St: stitch
SP: space
Sl st: Slip stitch
SC: Single Crochet (UK Double Crochet)
DC: Double Crochet (UK Treble Crochet)
EOR: End of row
Specific notes about the pattern
Once the first row is crocheted, we will be adding the shell stitch edging on each side of this one row. This means that for row 2, we will be directly adding a shell stitch edging to the first side of the project. We will be fastening off, and attaching the yarn to the other side of the project to create the second row of shell stitch edging (I will be calling this row 3). This row will be crocheted directly onto the chains from the beginning, as this will be the side of the chains.
Once this is completed, we will be adding the tassel and also the ribbon (all this is explained in detail in the pattern).
Pattern
Ch 36
Row 1: DC in 4th ch from hook (first 2 ch counts as a HDC), HDC into each ch until EOR
Row 2 (shell stitch edging): ch 3 (=DC), turn your work, place 2 DC into same 1st st (= half shell of 3 DC); sk 2 st, SC into next st, * sk 2 st, 5 DC (=shell), sk 2 st, SC into next st*, repeat from * to * until end of row (we will be finishing row on a SC).
Fasten off, leaving a long tail for sewing onto elastic band.
Repeat row 3 (shell stitch edging) on the other side of the project (this is the side of the starting chain):
Take your project and turn it around, so as to work on the other side of it. This is the side of the beginning chains.
You need to repeat the shell stitch edging on this side of the headband.
Attach yarn to project.
Ch 3 (=DC), turn your work, place 2 DC into same 1st st (= half shell of 3 DC); sk 2 st, SC into next st, * sk 2 st, 5 DC (=shell), sk 2 st, SC into next st*, repeat from * to * until end of row (we will be finishing row on a SC).
Fasten off, leaving a long tail for sewing.
Create and attach tassel to project
To begin, cut off two pieces of yarn (of about 10” in length) and set those aside.
Now take your yarn and go around three of your fingers on your other hand around 10 times. Fasten off yarn.
Lay wound up yarn on a flat surface, and taking one of the 10” pieces of yarn you set aside previously, insert it through the center of the wound up yarn you just created.
Tie this piece of yarn tightly at the top, so as to secure all the strands of yarn together.
Take the second 10″ piece of yarn and place it horizontally on the flat surface. Place the tassel on top of this piece of yarn, making sure that your piece of yarn is placed approximately an inch below the top of the tassel. Gently tie a knot across the tassel, then go around the tassel once again with the piece of yarn, and make a second knot at the front. Fasten off piece of yarn
Pulling gently on the wound up yarn, take your scissors and cut the bottom pieces of yarn so as to create the tassels. Make sure all the tassel pieces are equal. Trim the pieces of yarn at the bottom if needed.
Now attach tassel to the bottom center of the bookmark; to attach the tassel, use your crochet hook and the ties you have just created on the tassel.
Fasten off, tidy up all loose ends.
Place ribbon into the center of the bookmark
Take your ribbon and place your safety pin onto one side. Now go through the center of bookmark, going through every second DC on the project as seen in photograph below.
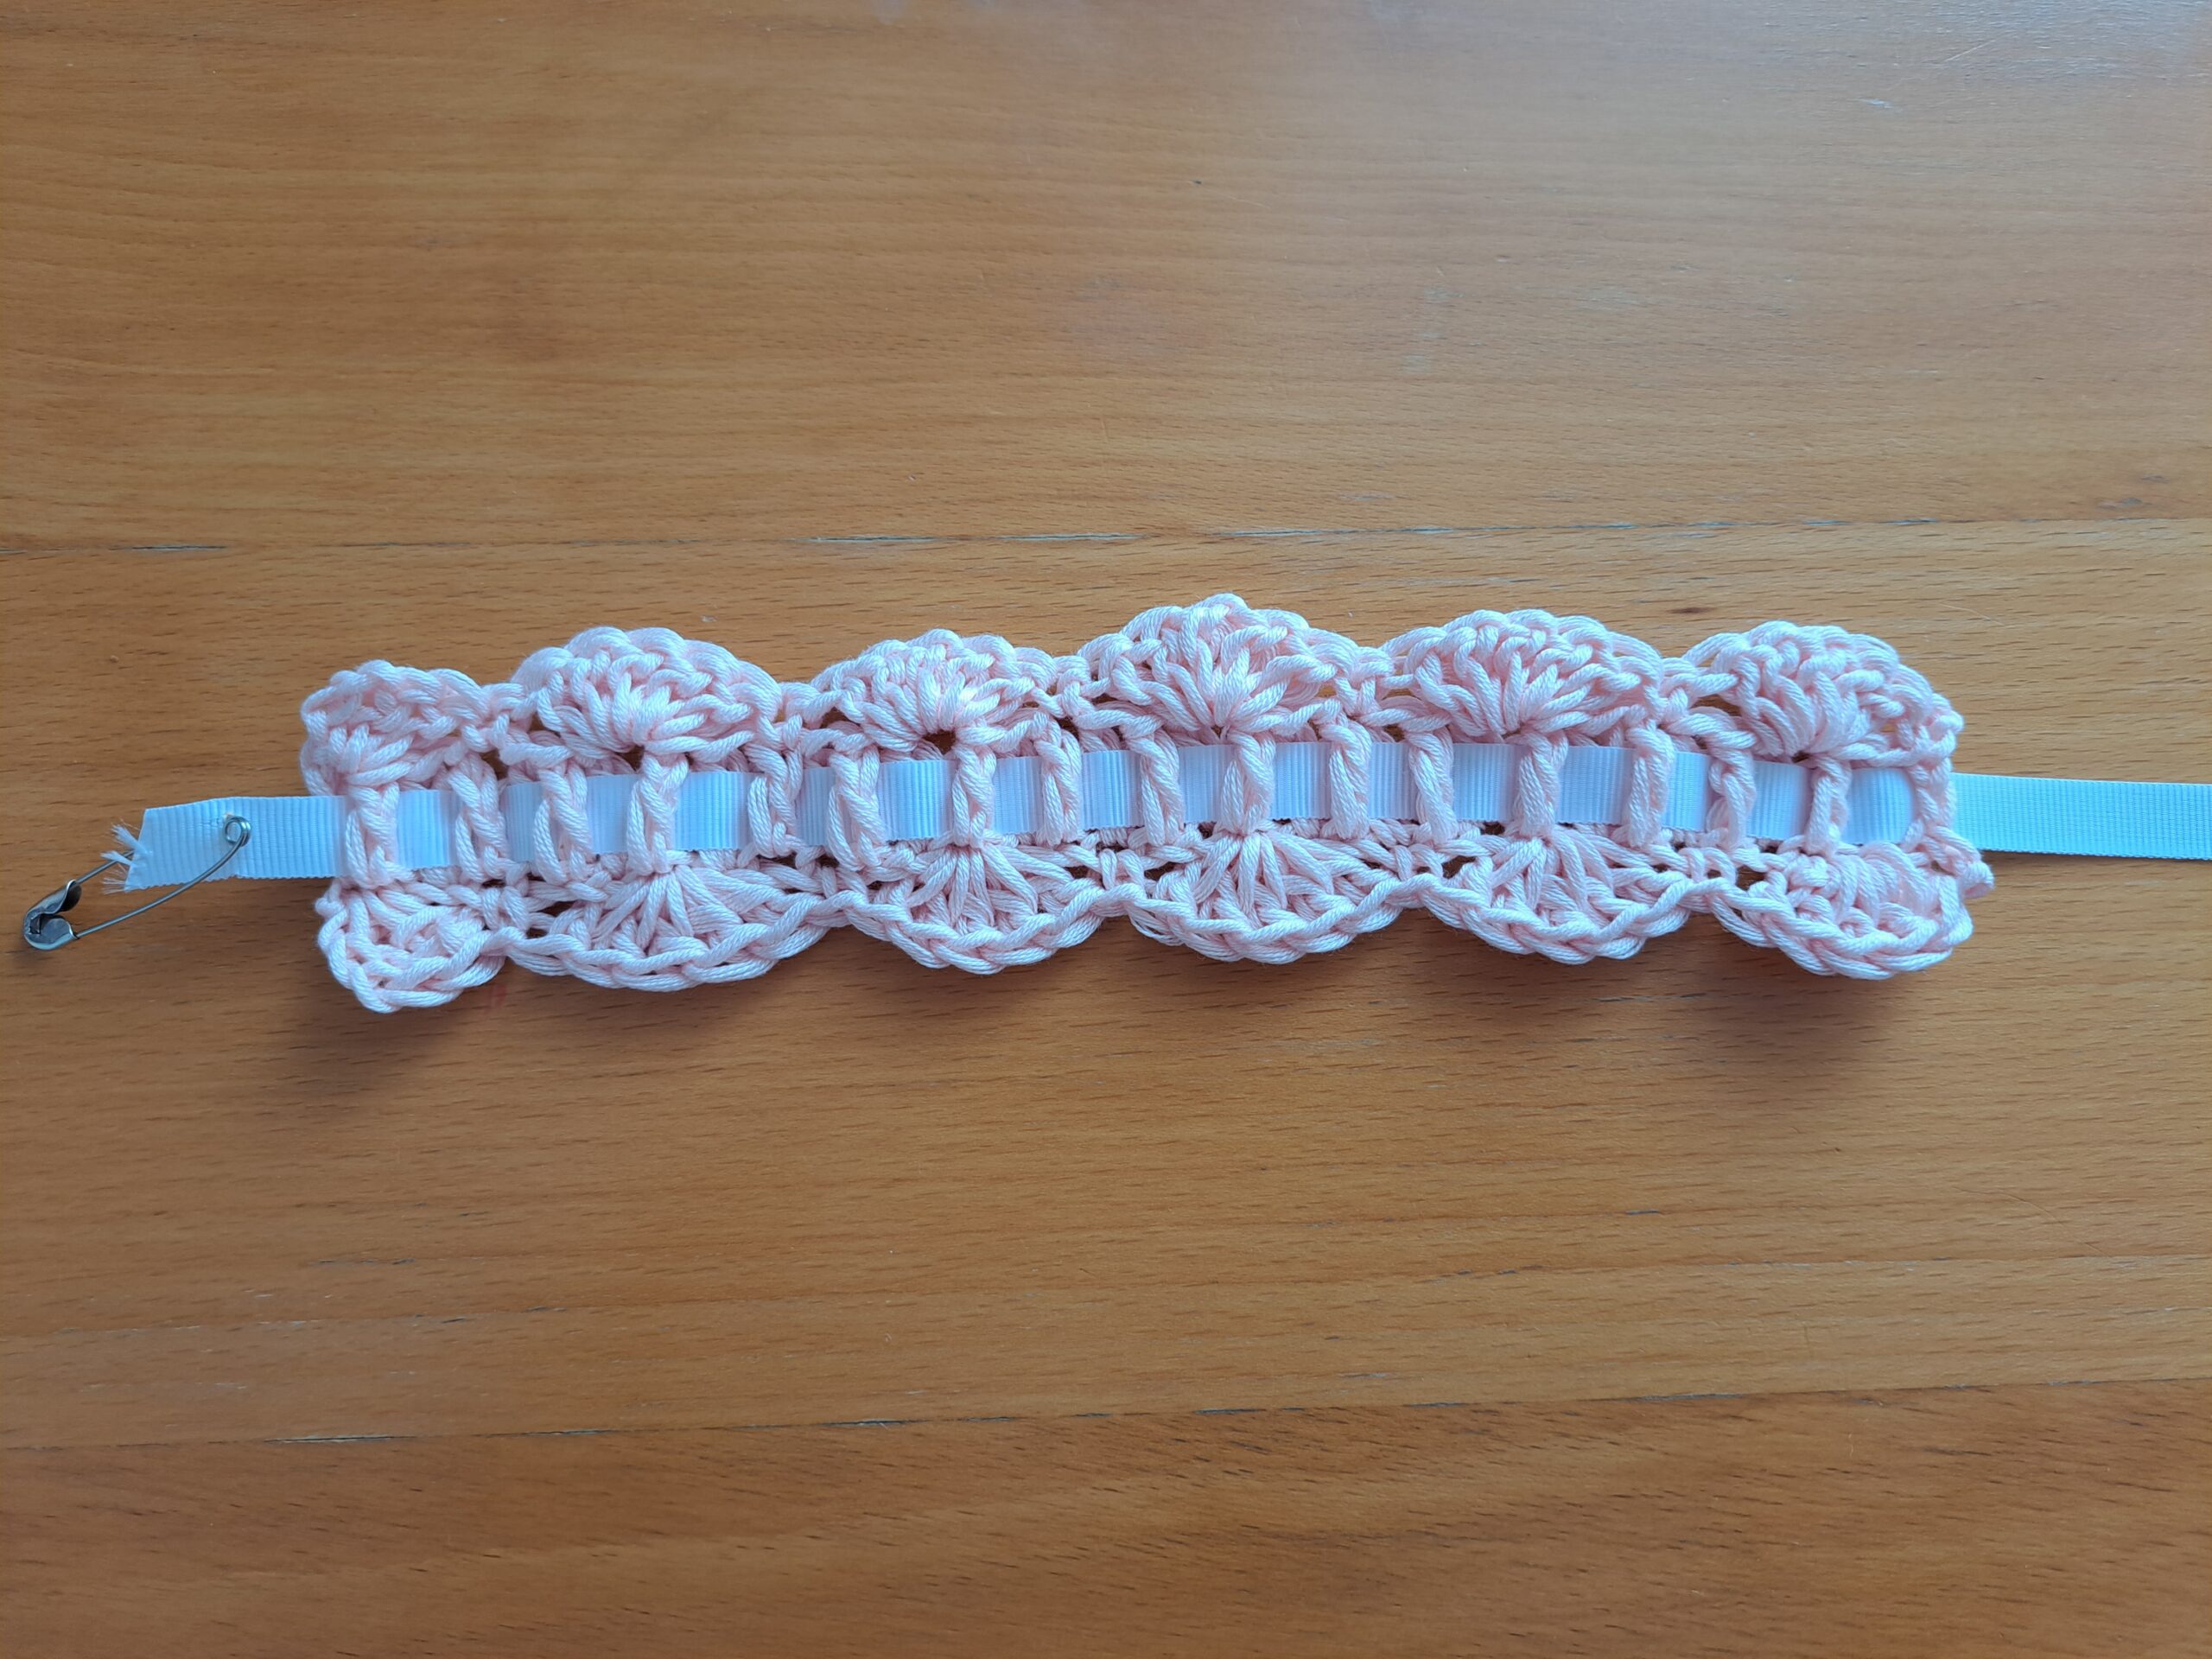
Once you have placed your ribbon onto the project, remove safety pin and adjust each end of the ribbon to your liking with your scissors.


You May Also Like
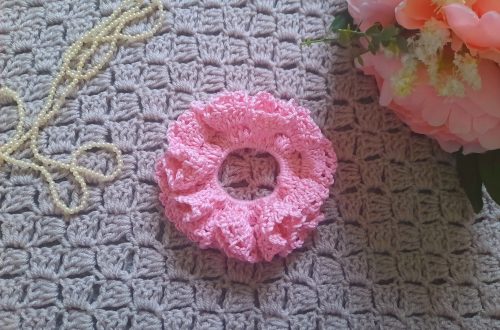
Crochet Easy Scrunchie Free Pattern
Crochet Victorian Shawl With Fringe Free Pattern